Register Domain
Prerequisites
Introduction
Once your organization wide settings are set, you can register a new domain or manage your existing domains. In this document we will go over how to register a new domain, set the domain requirements and connect a CA.
Creating a New Domain
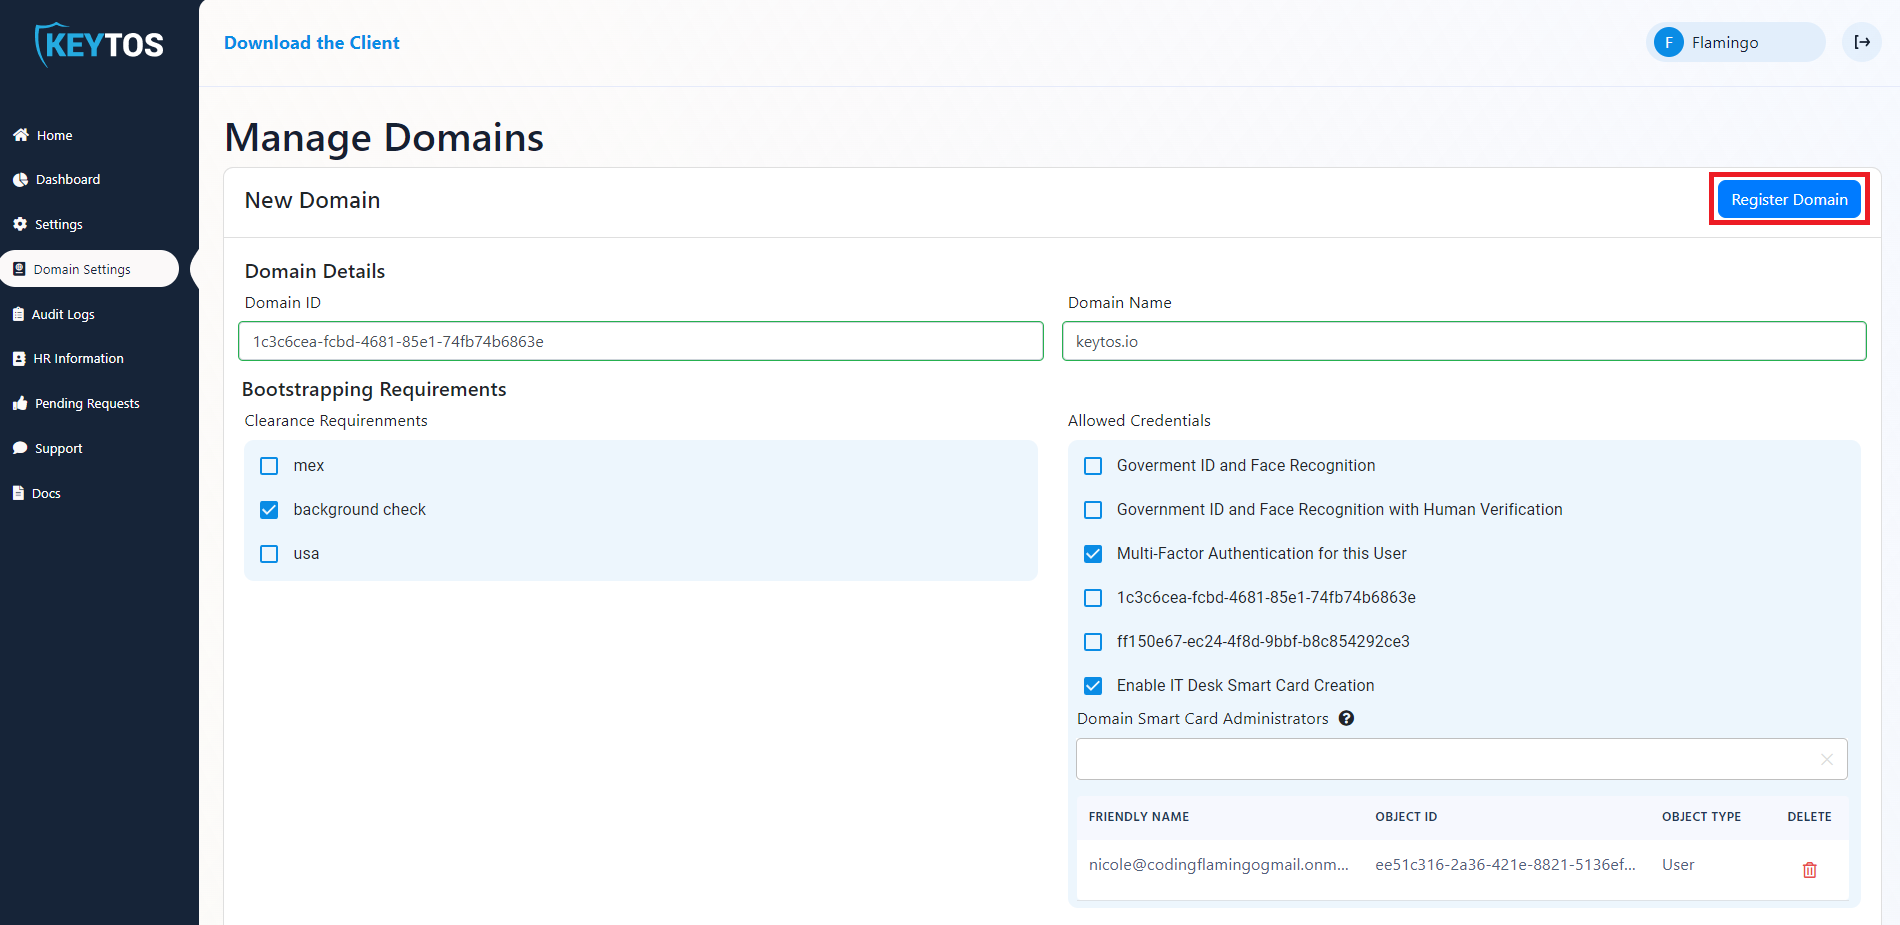
- Navigate to your EZSmartCard instance and select “Domain Settings”
You must be an administrator for this option to appear.
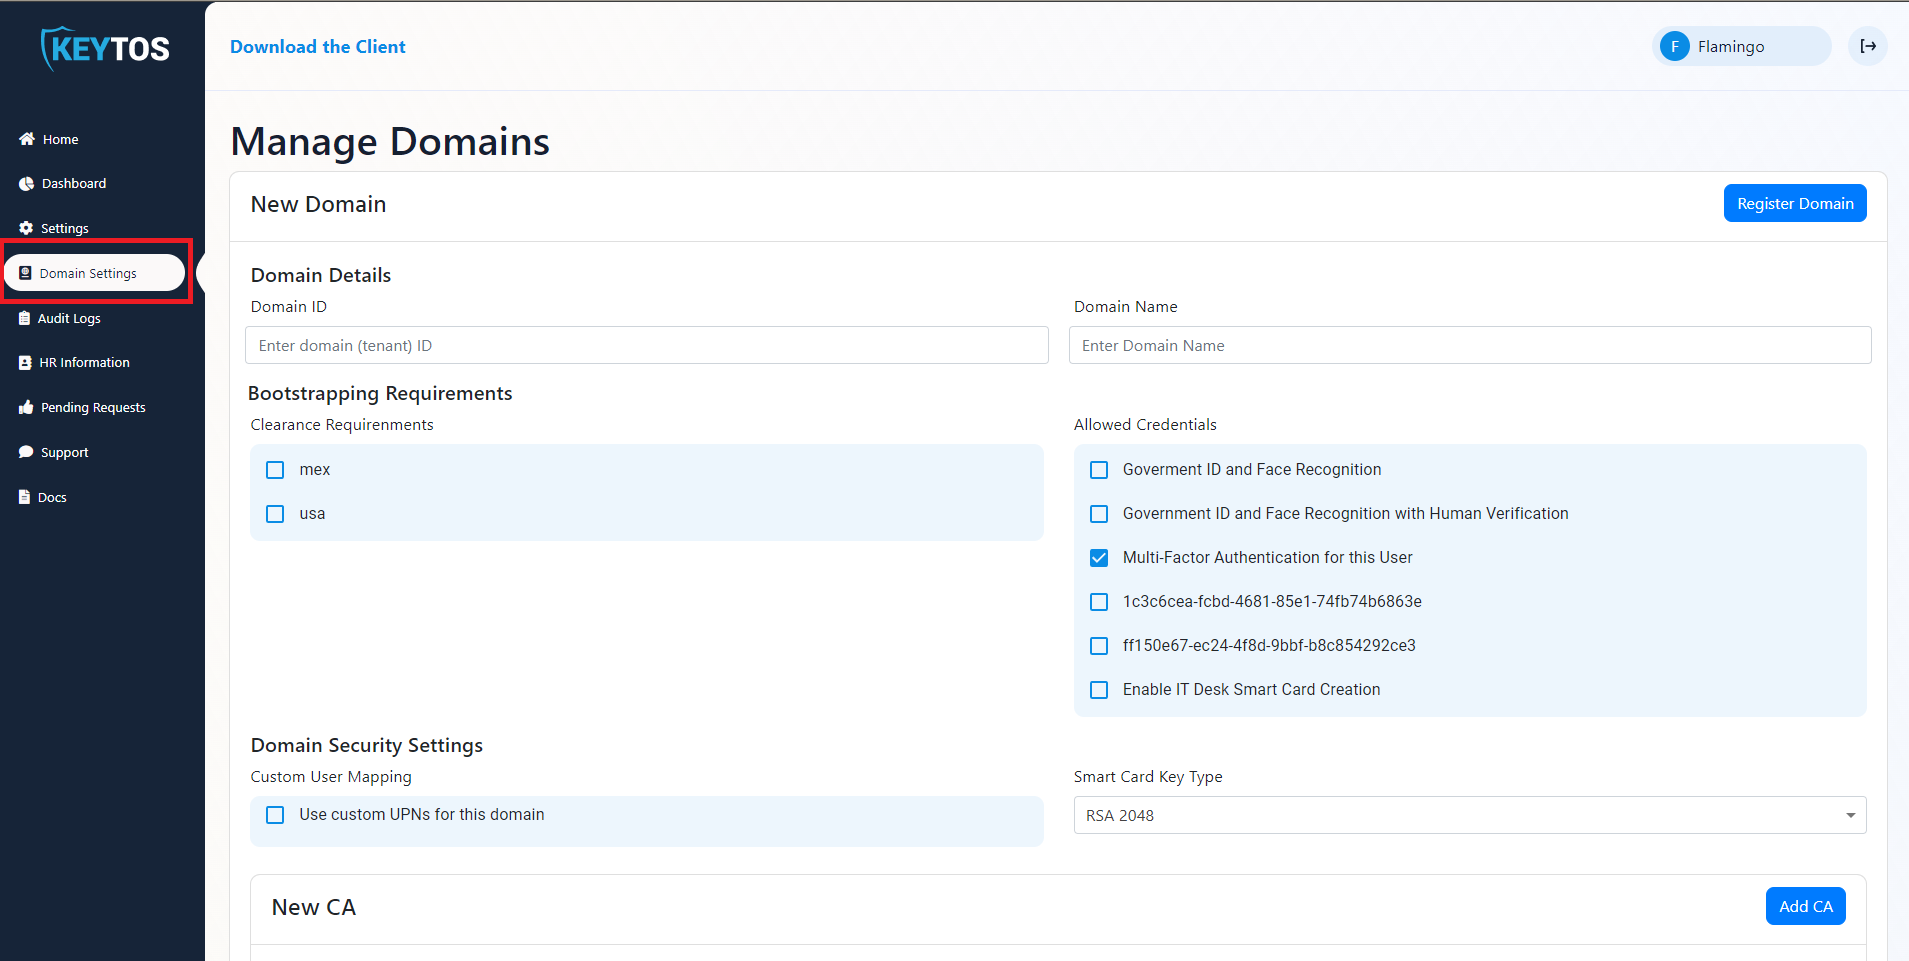
- Enter your domain ID (Azure Tenant ID)
- Enter domain name.
Domain name is all the text after the @, for example for jake@keytos.io the domain name is keytos.io
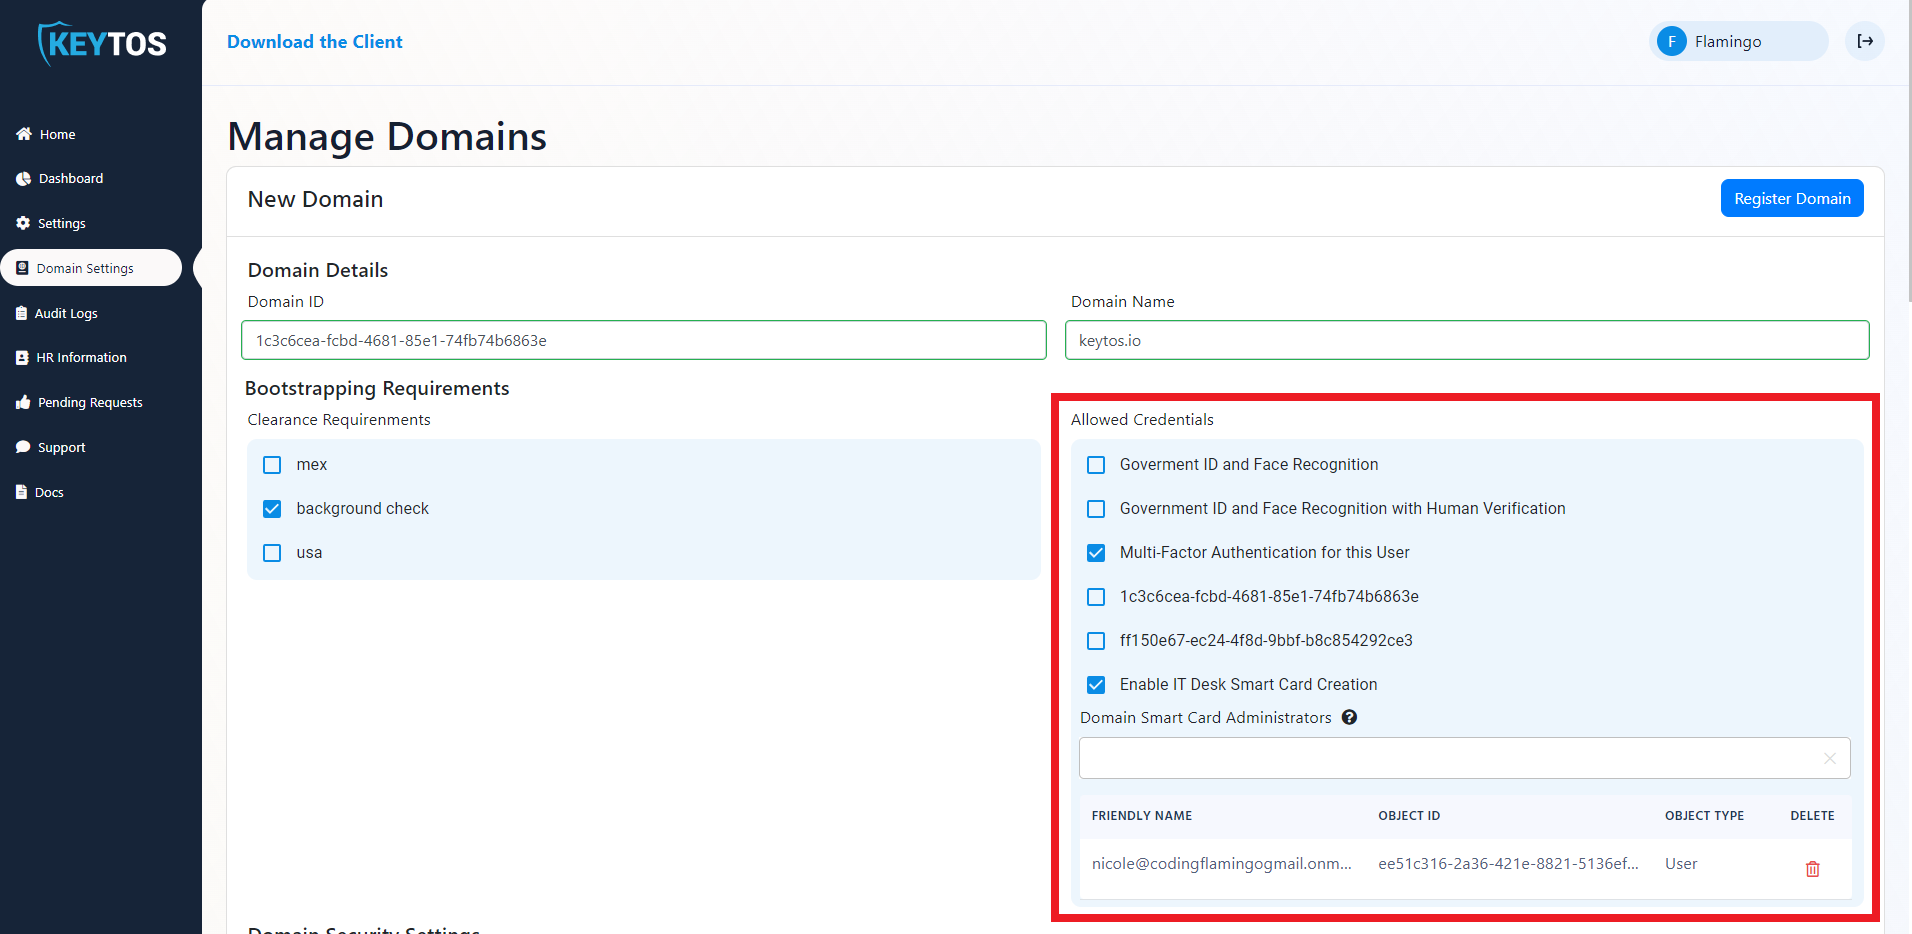
- Set your clearance requirements for this tenant.
Clearances are set by you in the HR database, this can be from certain background checks, to actual government clearances. Anyone that doesn’t meet the clearance requirements will not be able to see the domain.
- The “Allowed Credentials” section enables you to select which credential types are allowed to create a smart card for this domain. Depending on your plan you will have some of the following options:
- Government ID and Face Recognition: The user scans their face and a government ID, EZSmartCard uses AI to validate the validity of the ID as well as the match with the user.
- Multi-factor Authentication The user can use their existing domain credentials to create a smart card for this domain. (This option should be enabled for renewals and can also be leveraged by existing domains that are moving to passwordless authentication)
- Other Domain Multi-factor Authentication If like Keytos, your organization uses Identity Isolation to protect their environments, you can enable the user’s identity from your other domains to create a smart card for this domain.
- IT Desk Smart Card Creation For highly regulated industries, physical presence and verification is required to create the smart card, this option enables your IT desk to create the Smart Card on behalf of the user.
- For multi-tenant organizations the aliases of a secondary domain might not match the aliases of the main domain, to solve this issue EZSmartCard supports user mapping. To enable this select the “Use custom UPNs for this domain option.
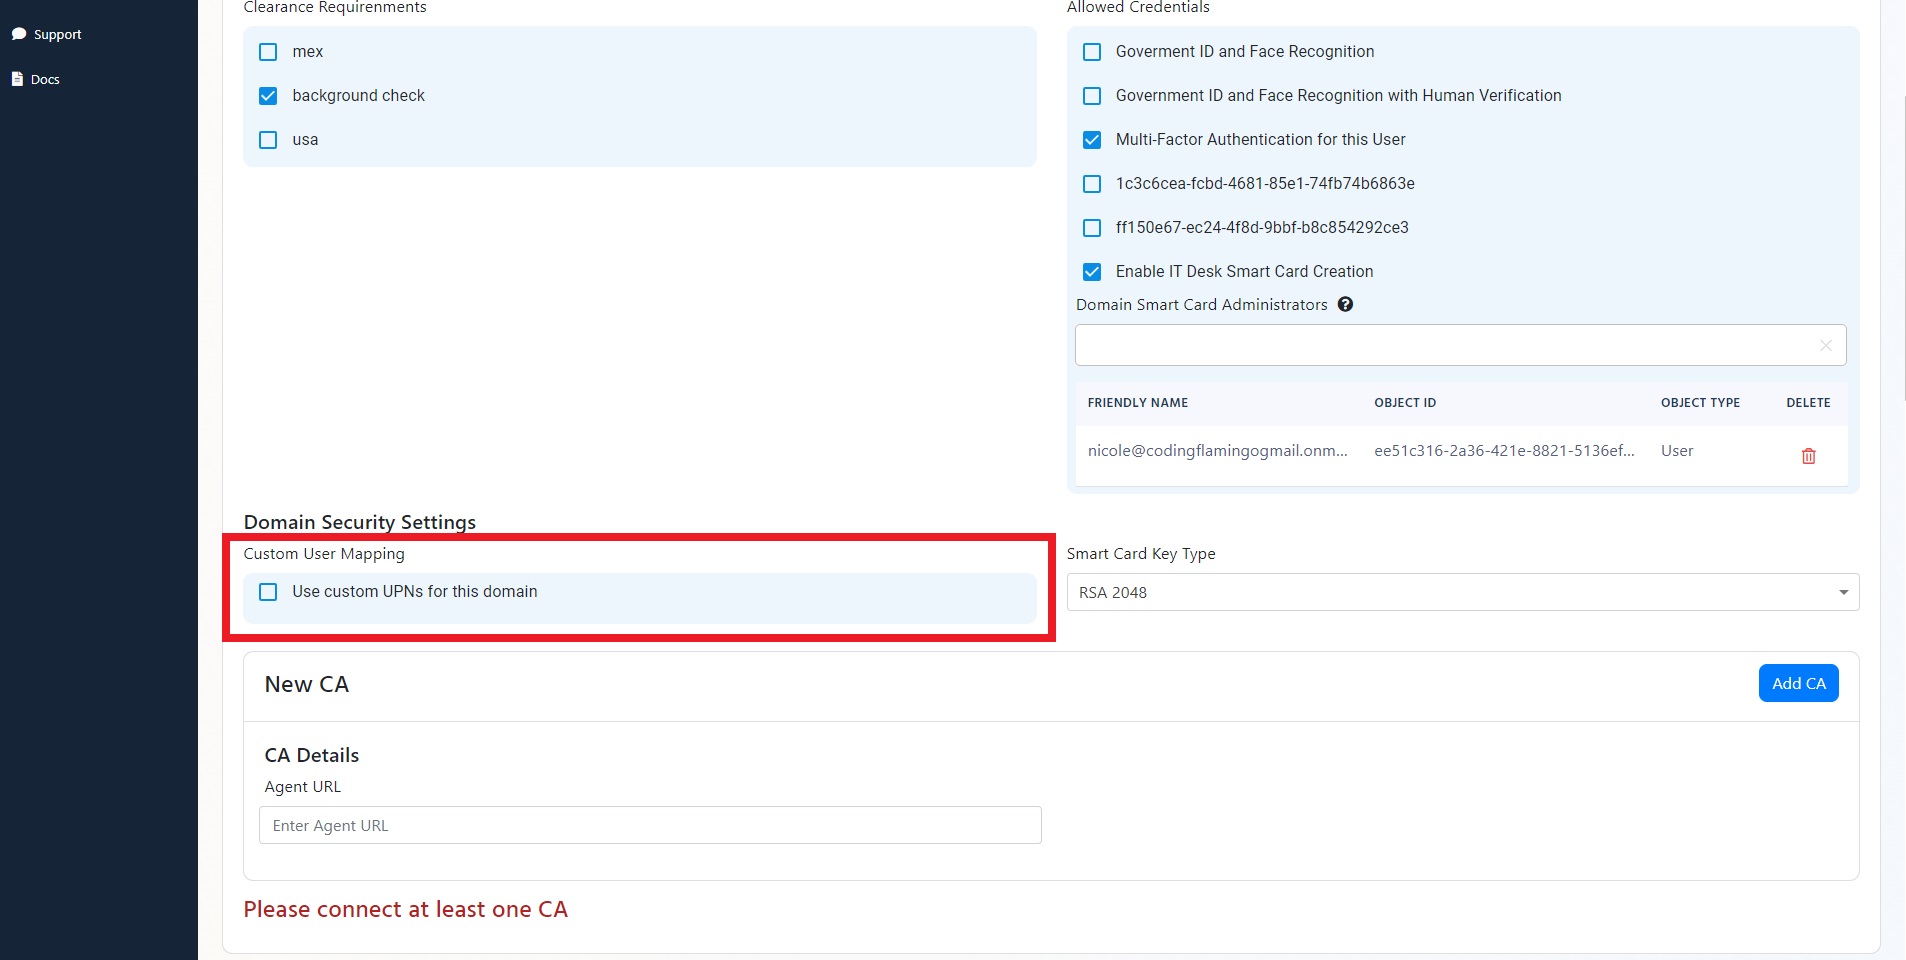
- Select the cryptographic key type required for this domain.
Connecting Your CA
EZSmartCard Supports connecting EZCA an Azure Based PKI and Windows ADCS CAs for certificate creation.
Connecting EZCA CA
- Enter https://portal.ezca.io as the agent URL.
- Open EZCA in another tab.
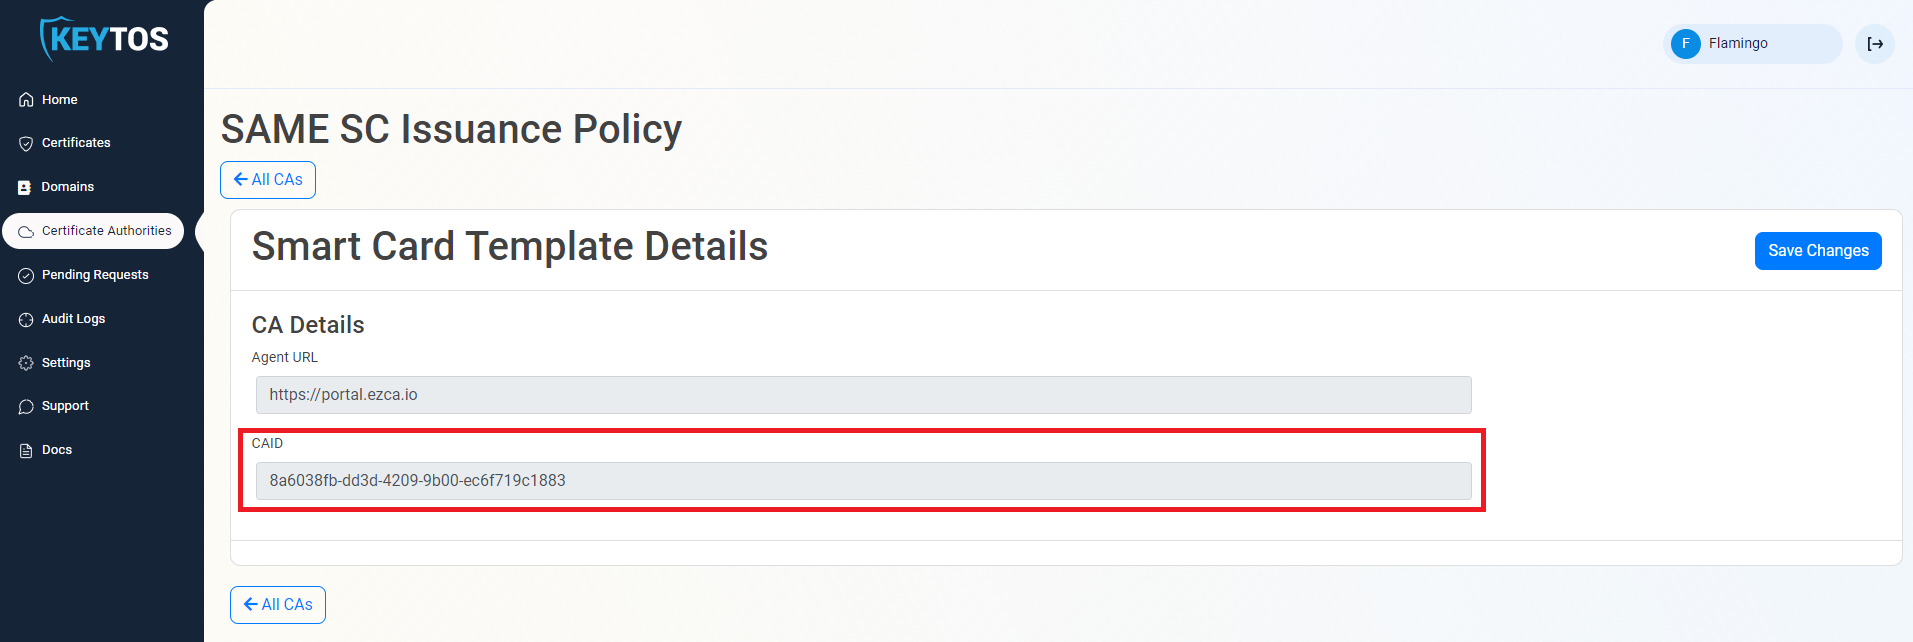
- Navigate to Certificate Authorities
- Click “View Requirements” on your SmartCard CA
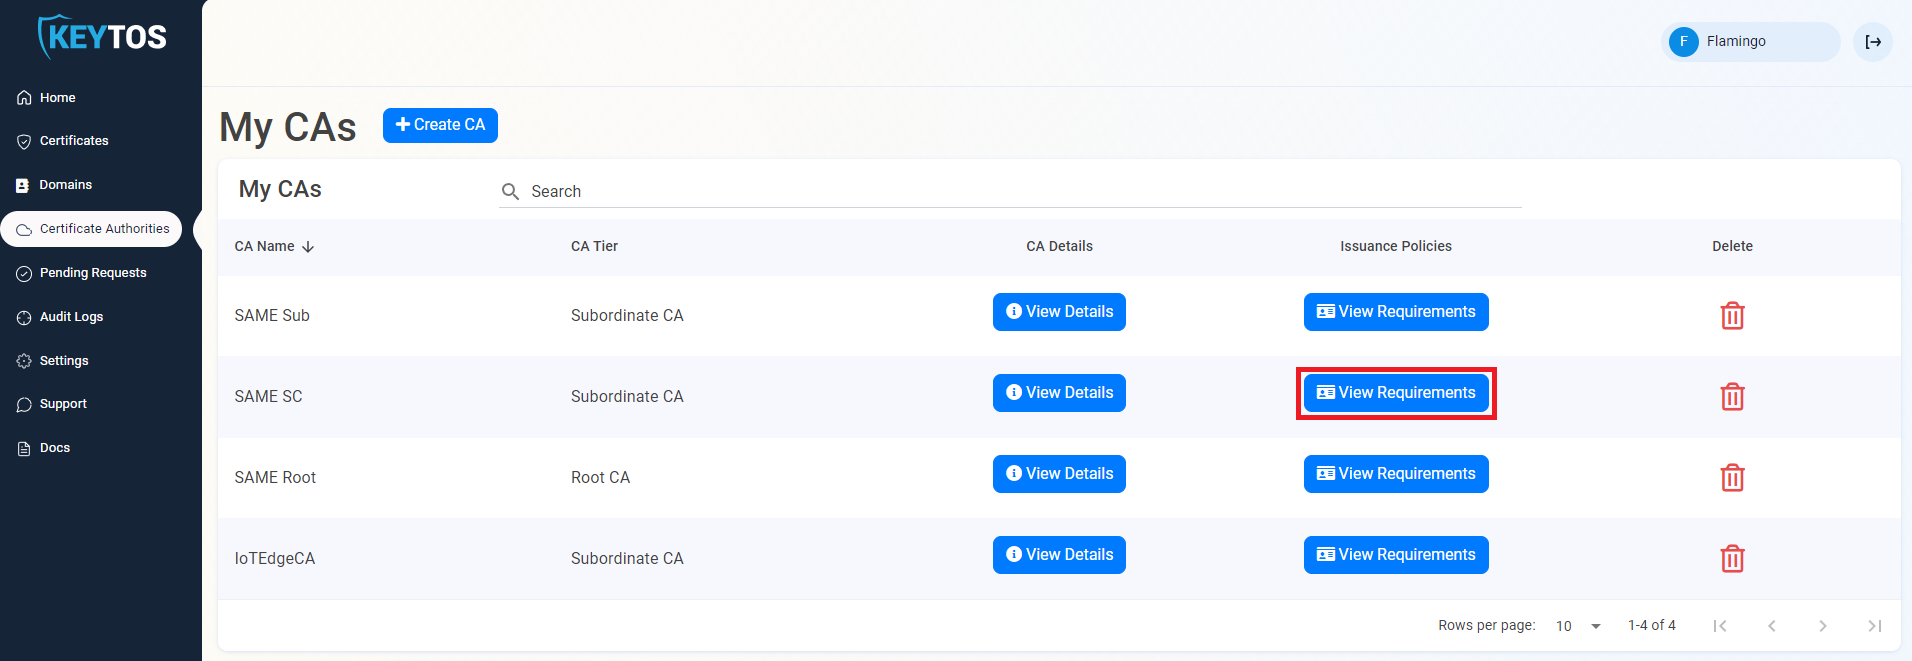
- Copy your CAID
- Go back to your EZSmartCard Tab
- Paste the CAID in the CA Details CAID field.
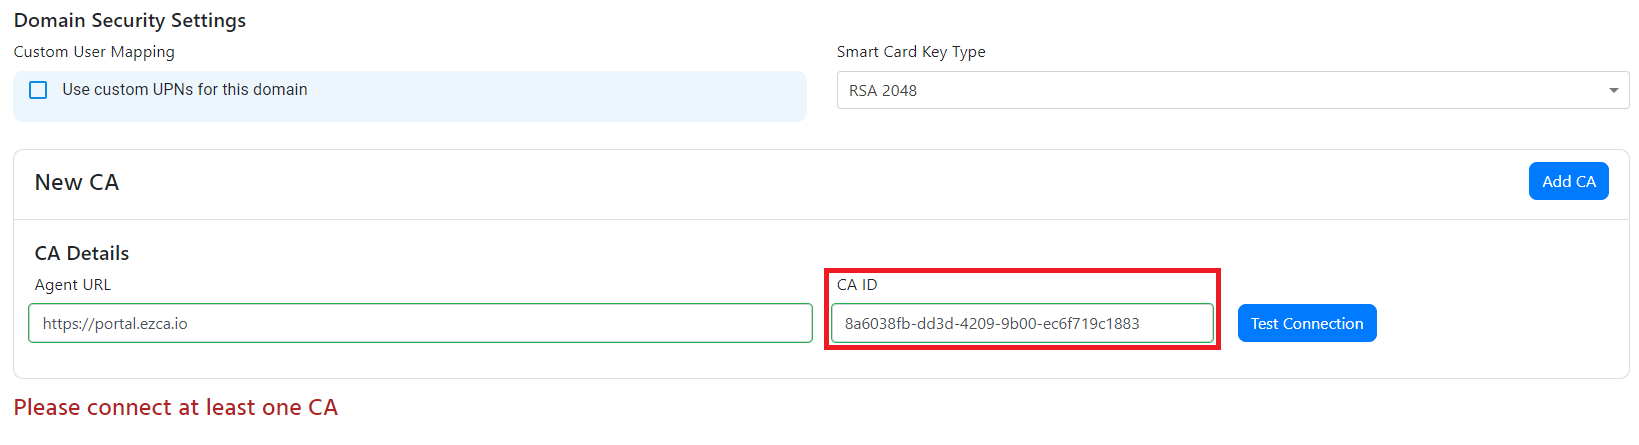
- Click “Test Connection”
- If the connection is successful add the CA
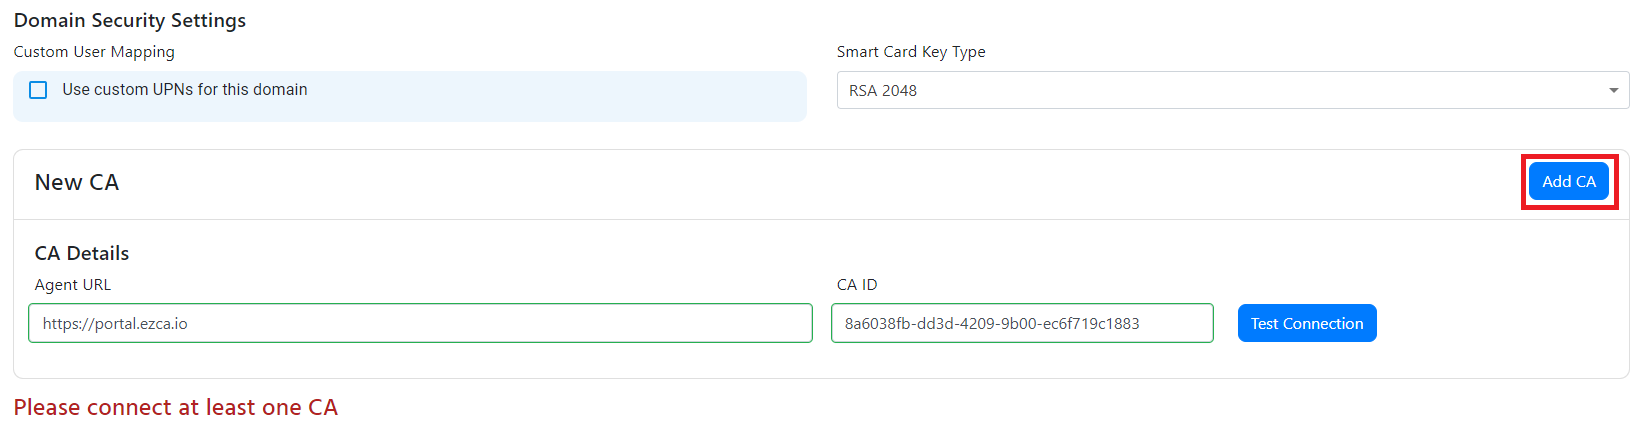
- Repeat these steps for all your CAs.
- Save the domain by clicking “Register Domain at the top.
Connecting ADCS CA
- Enter your public facing agent URL.
- Enter the CA name with the format fqdn\CA Name
- Enter the template name of the smart card template you created.
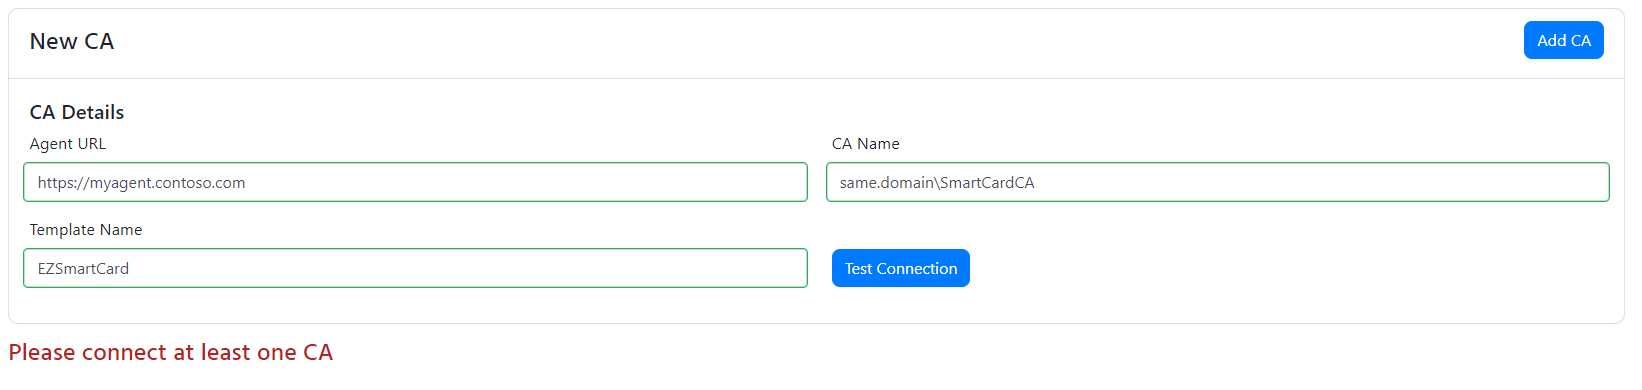
- Click “Test Connection”
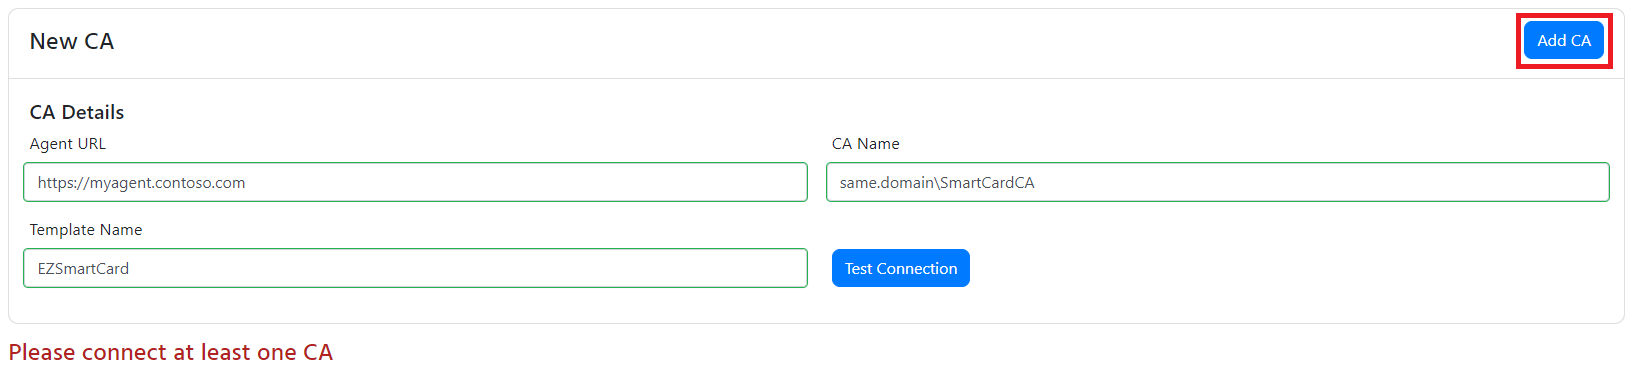
- If the connection is successful add the CA
- Repeat these steps for all your CAs.
- Save the domain by clicking “Register Domain at the top.